Secure, Lightweight Multicolor Bottle Cage Holder Guide
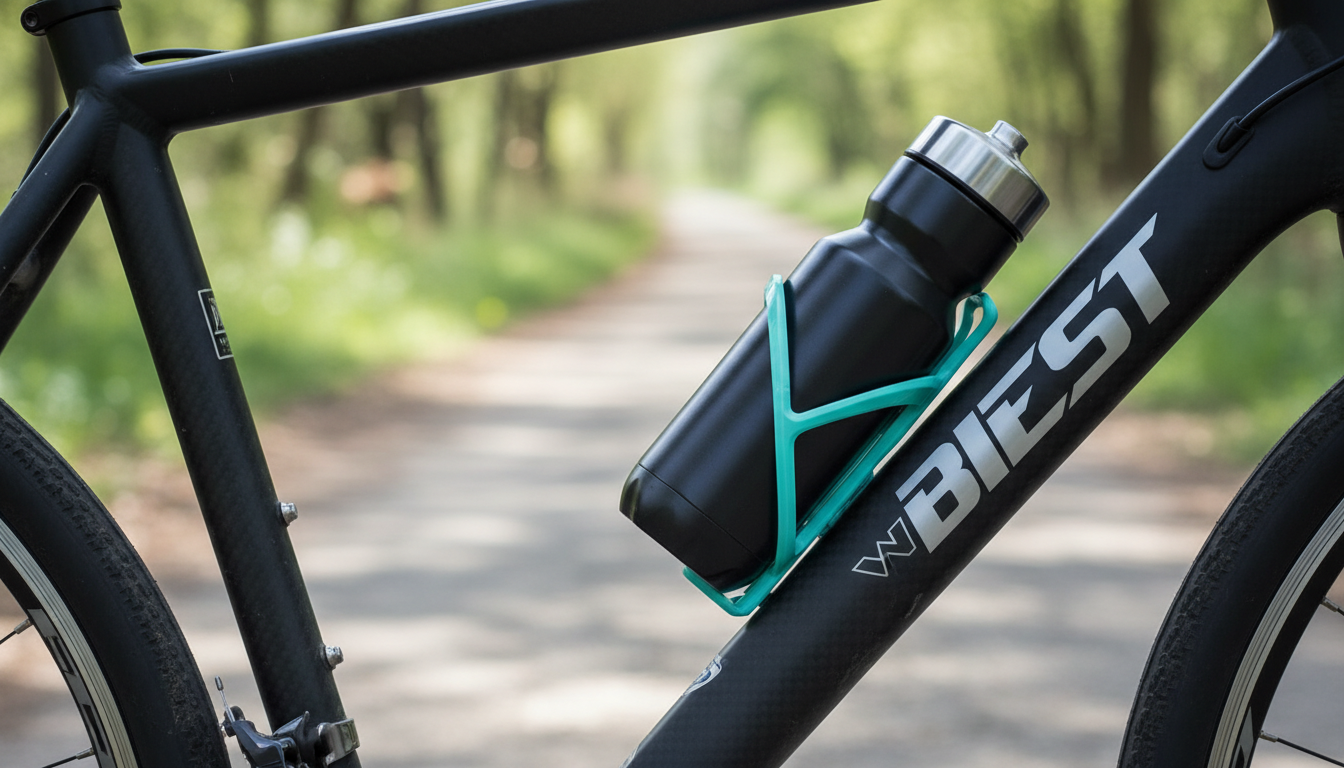
Lightweight Hydration That Stays Put
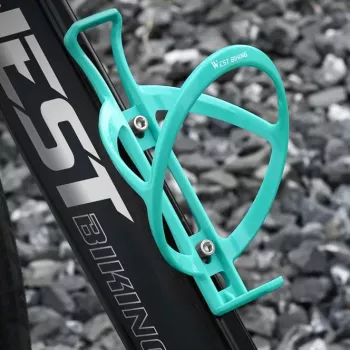
A bottle cage should keep hydration easy and reliable without adding noticeable weight or distracting from the ride. The Lightweight Multicolor Bike Bottle Cage Holder is built to stabilize a standard cycling bottle over rough pavement and trails while adding a clean pop of color to the frame. Below is a practical breakdown of fit, mounting, ride feel, and simple habits that help keep your bottle secure mile after mile. For more guidance, see Geared Up: Holiday Bonanza 2023.
What This Bottle Cage Holder Does Well
- Keeps a water bottle firmly seated so it doesn’t rattle out on bumps, corners, or sprint efforts
- Lightweight profile helps avoid unnecessary additions to the bike’s overall build
- Multicolor finish can complement frame accents, bar tape, or kit for a coordinated look
- Quick access: designed for smooth in-and-out bottle grabs during rides
That combination—steady retention with easy access—matters most when the road gets choppy, your hands are tired, or you’re grabbing a bottle while holding a line in a group. For further reading, see MTB Road Bike Bottle Cage, Portable Water Bottle Mount.
Key Details at a Glance
- Best use: road, gravel, commuting, fitness rides, and general everyday cycling
- Typical compatibility: bikes with standard bottle-cage mounting points on the down tube or seat tube
- Mounting style: two-bolt pattern used by most frames (hardware may be required depending on what’s included with the bike)
Quick Compatibility Checklist
| Item to check | Why it matters | What to look for |
|---|---|---|
| Bottle-cage bosses on frame | Determines whether it bolts on directly | Two threaded inserts spaced like standard cages |
| Bottle size | Affects insertion/removal and security | Most standard cycling bottles fit; oversized bottles may be tight |
| Frame clearance | Prevents scraping and improves access | Enough space to insert and pull the bottle without hitting the top tube |
| Tool access | Ensures installation is simple | Room to use a 4mm/5mm hex key depending on bolts |
Fit and Placement: Getting Easy Access on Any Frame
Where the cage sits can make the difference between effortless hydration and a mid-ride fumble. Most riders do best with one of these common placements:
- Down tube placement: the most common option, with balanced weight distribution and a natural reach while seated.
- Seat tube placement: helpful on compact frames, bikes with limited down-tube space, or setups that include a frame bag.
- Smaller frames: a slightly angled insertion technique can prevent knuckle contact with the top tube and reduce bottle scuffs.
- Full-suspension or tight-clearance frames: confirm you can insert and remove the bottle cleanly before fully tightening bolts.
If your bike supports two cages, consider dedicating one location to your “easy-grab” bottle and the other to a backup bottle or a tool can for local rides.
Installation Steps and Simple Setup Tips
A solid install is the foundation of a quiet, secure ride. Take a minute to set it up carefully and you’ll avoid most rattles and ejections later.
- Align the cage with the frame’s two mounting holes; start both bolts by hand to avoid cross-threading.
- Center the cage before final tightening so the bottle sits straight and doesn’t rub the frame.
- Tighten evenly; recheck after the first 1–2 rides as bolts can settle.
- If using a carbon frame, follow the frame maker’s torque guidance to avoid over-tightening. For general torque safety notes, see Park Tool’s bicycle torque specifications guidance.
- Optional protection: a small clear frame patch behind contact areas can reduce scuffs over time.
One small habit that helps: after tightening, insert a bottle and look from the front of the bike to confirm the cage isn’t skewed to one side. A slight twist can make bottles feel “mysteriously” too tight.
On-the-Ride Feel: Stability Over Bumps and Fast Bottle Grabs
A secure cage reduces mid-ride distractions—less rattling, fewer bottle ejections, and fewer unplanned stops. This matters on rough streets, chipseal, and gravel where repeated impacts can slowly walk a bottle upward.
- For rough roads or gravel, confirm the bottle “clicks” into place and doesn’t slide upward when tugged.
- Practice one-handed grabs in a safe area: consistent insertion angle improves retention and speed.
- If bottles feel too tight, check for misalignment (slightly off-center mounting can increase friction).
Hydration timing matters, too—especially on longer efforts. For general endurance guidance on fluid replacement, the American College of Sports Medicine position stand is a reliable reference.
Care, Cleaning, and Long-Term Durability
Good Add-Ons for a More Confident Setup
Reliable hydration feels even better when the rest of the contact points are stable. If your current pedals feel slippery in wet conditions or on bumpy paths, upgrading traction can make bottle grabs calmer and more controlled. The Ultralight Non-Slip Aluminum Bike Pedals with Sealed Bearings pair well with a secure cage for a steadier, less fidgety ride.
FAQ
Will this bottle cage holder fit any bike?
It fits most bikes that have standard two-bolt bottle-cage mounts (threaded bosses) on the down tube or seat tube. Bikes without mounts may need an adapter, and small or full-suspension frames should be checked for bottle insertion clearance before tightening everything down.
How do you stop a bottle cage from rattling or ejecting the bottle?
Start by aligning the cage straight and tightening bolts evenly, then recheck tightness after 1–2 rides. Use a standard cycling bottle that fits correctly, add a clear frame patch if rubbing causes noise, and replace bottles that are worn or grooved since they can slip more easily.
What size water bottle works best in a lightweight cage?
Most standard cycling bottles in the common 20–26 oz range fit well and are easy to grab while riding. Oversized or heavily insulated bottles can be tighter, so test insertion and removal with the bike stationary before heading out.







Leave a comment