80 PSI Portable Bike Pump: Dual Valve + Tool Kit Guide
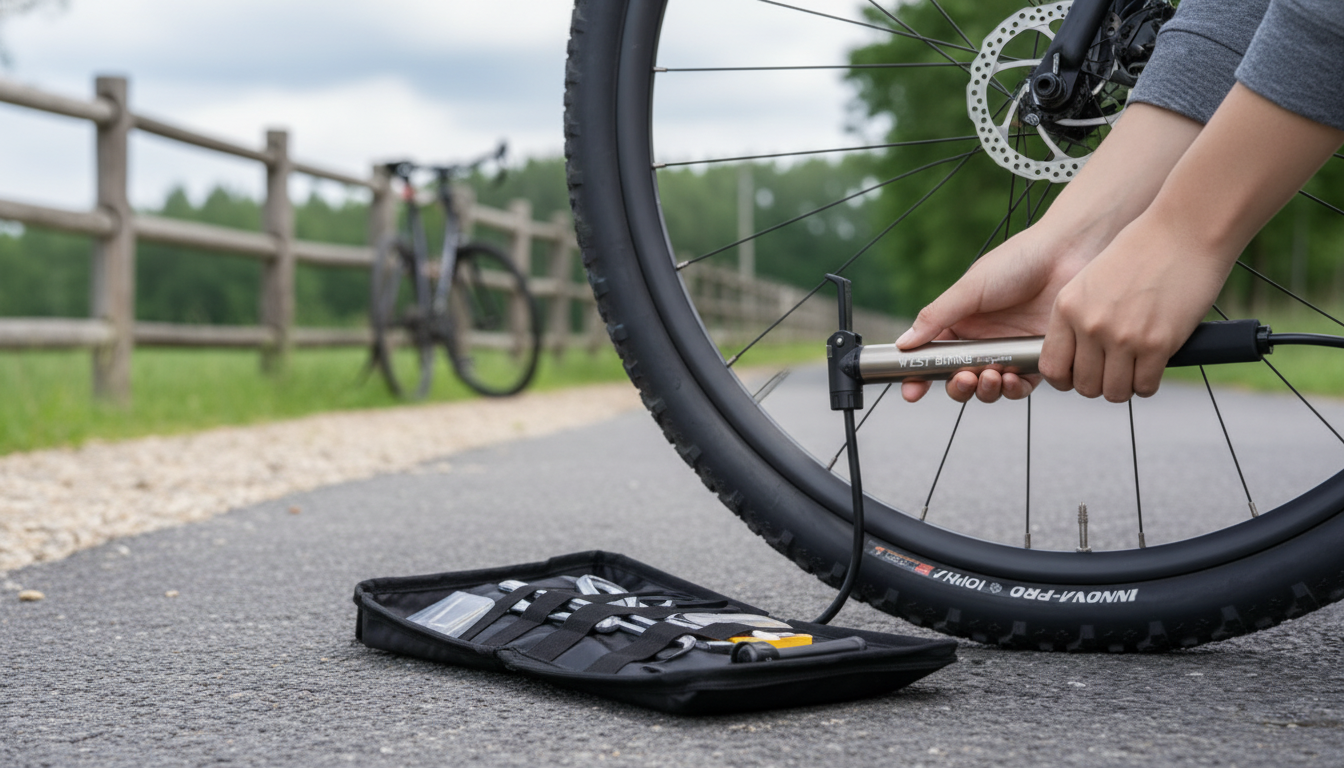
A compact bike pump can be the difference between walking home and rolling again in minutes. The 80 PSI Portable Bike Pump with Dual Valve & Tool Kit is built for that “get-moving-again” moment: it supports the two most common bicycle valve types, reaches pressures that cover many everyday setups, and includes a small tool kit for quick post-flat adjustments. Below is a practical breakdown of what it’s best at, how to use it efficiently on the roadside, and when it’s smarter to step up to a higher-pressure option. For more guidance, see Group test: Choose the best portable cycle pumps.
What You Get and Who It’s For
This pump is designed for on-the-go inflation when a full-size floor pump isn’t available—think commuting, casual rides, weekend gravel loops, or keeping a backup kit in the car. Dual valve compatibility helps simplify packing because most riders won’t need to carry separate adapters for Presta vs. Schrader tubes. For further reading, see Family Biking: A tire pumping primer – BikePortland.
The included tool kit adds real-world value: after a flat, it’s common to need a minor tweak—snugging a loose bolt after wheel removal, realigning a light mount, or making a quick saddle adjustment. This isn’t meant to replace a home workshop, but it can help turn a “ride-ending problem” into a short pause.
Best fit includes commuters, casual riders, and gravel riders who want a compact kit that lives in a bag or on the frame. It’s less ideal for high-volume fat tires (where the pressure is low but the air volume is huge) or riders who frequently inflate narrow road tires to higher PSI targets and want faster, more precise inflation.
Key Specs at a Glance
- Max pressure: 80 PSI, suitable for many city/commuter and mixed-surface setups; some road setups may require more.
- Portable form factor: easy to store in a backpack, saddle bag, glove box, or an on-bike mount (if included with your unit).
- Dual valve head: works with Presta and Schrader valves commonly found on bicycles.
- Accessory kit: intended for quick roadside fixes rather than full workshop servicing.
Quick Reference: What 80 PSI Covers
| Use case | Typical tire style | Fit with 80 PSI max |
|---|---|---|
| City/commuter riding | Hybrid/commuter tires | Good match for topping up and roadside recovery |
| Kids’ bikes | Smaller volume tires | Good match |
| Gravel/comfort riding | Wider tires run at moderate pressure | Good match |
| Road racing setups | Higher-pressure narrow tires | May be limiting depending on target PSI |
| Fat bikes/high-volume MTB | Very large volume tires | Pressure may be fine but inflation time/effort may be high |
Dual Valve Compatibility: Presta and Schrader Made Simple
Valve compatibility matters most when you’re fixing a flat on the side of the road. Presta valves are common on road bikes and many performance-focused bikes, while Schrader valves are common on commuter bikes, many entry-level bikes, and kids’ bikes. If you’re unsure which valve you have, Park Tool’s overview is a helpful reference: Bicycle tire and tube valve types (Presta vs Schrader).
Dual-valve pump heads typically switch modes by flipping or repositioning an internal insert, or by using a reversible piece inside the head. Before pumping, take an extra second to confirm the head is configured for your valve type and seated straight. A clean, square seal does more for inflation speed than aggressive pumping does.
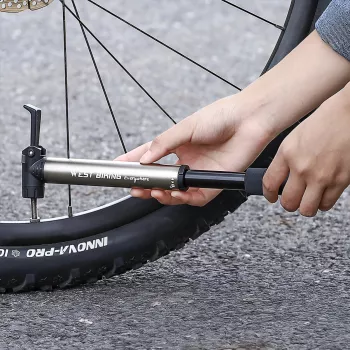
- Press the pump head straight onto the valve.
- Lock it (if your pump head uses a lock lever) or hold it firmly in place.
- Start with steady strokes and keep the head aligned so it doesn’t wiggle.
If you hear air hissing at the connection, stop and reseat the head. Also check that the valve core is snug (especially on removable-core Prestas) and that you’re in the correct valve mode.
How to Inflate Efficiently (and Avoid Common Mistakes)
Start with the tire sidewall. It usually lists a recommended pressure range (PSI). Staying within that range is the simplest safety rule: it protects the tube, tire, and rim, and helps you avoid blowouts.
Presta inflation checklist
Tool Kit Use Cases: Small Fixes That Save a Ride
Portability and Carry Options
- Keep it clean: store it in a small pouch to reduce dust and grit in the pump head.
- Build a complete roadside setup: pair it with a spare tube/patch kit and compact tire levers.
- Upgrade touchpoints: if your current pedals feel slippery or worn, consider a traction-focused replacement like the Ultralight Non-Slip Aluminum Bike Pedals with Sealed Bearings for daily riding confidence.
When to Step Up to a Higher-Pressure Pump
If you want one pump for both bicycles and motorcycles, or you prioritize frequent precision inflation over occasional top-ups, a higher-capacity option may be a better match. In that case, consider the 160 PSI High-Pressure Bike & Motorcycle Tire Pump with Dual Valve Gauge.
For riders whose main goal is “carry it everywhere and use it when needed,” the 80 PSI Portable Bike Pump with Dual Valve & Tool Kit stays focused on portability and everyday coverage.
Care and Safety Notes
FAQ
Will this pump work with both Presta and Schrader valves?
Yes. Set the dual-valve head to the correct configuration for your valve type, seat it straight on the valve, and lock or hold it firmly to prevent leakage while pumping.
Is 80 PSI enough for road bike tires?
It can be, depending on your tire width and the pressure you run. Many modern wider road tires use lower pressures, but riders targeting higher PSI may prefer a higher-pressure pump.
How do you pump a Presta valve without losing air?
Loosen the Presta tip nut, attach the pump head firmly, pump steadily, then remove the head quickly and straight. Retighten the tip nut immediately after removing the pump.


Leave a comment