Dial In PSI: 160 High-Pressure Pump w/ Dual Valve Gauge
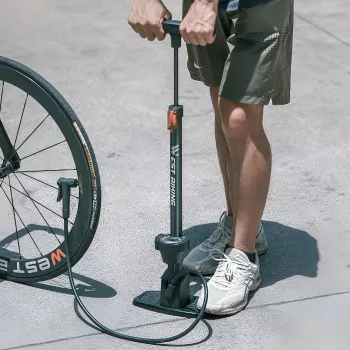
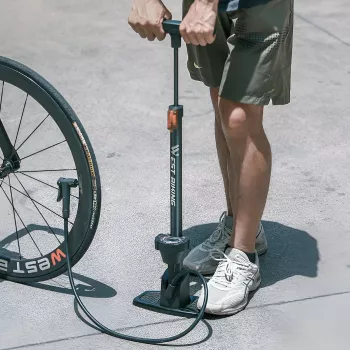
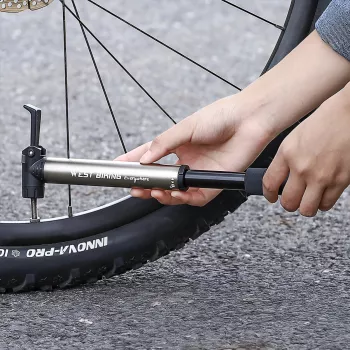
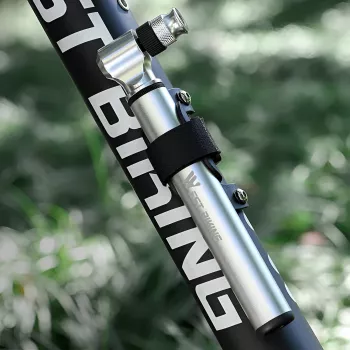
160 PSI High-Pressure Bike & Motorcycle Tire Pump with Dual Valve Gauge
Reliable tire pressure affects comfort, traction, braking, and tire life. A high-pressure pump with a clear gauge and dual-valve compatibility makes it easier to dial in the right PSI for both bicycles and motorcycles—at home or in the garage. Whether the goal is a fast, efficient road ride or predictable motorcycle handling on daily commutes, consistent inflation is one of the simplest maintenance wins.
For riders who want one tool that covers multiple wheels, the 160 PSI High-Pressure Bike & Motorcycle Tire Pump with Dual Valve Gauge is built for higher pressures and repeatable readings without the guesswork of worn-out station gauges.
What this pump is built to do
- Reach higher pressures for road bikes and other high-PSI tires with a 160 PSI capacity.
- Support common valve setups using a dual-valve design to reduce adapter hassles.
- Show pressure readings on an integrated gauge for more repeatable inflation.
- Serve mixed households or riders who maintain both bicycles and motorcycles.
The advantage of a dedicated floor-style pump with a gauge is control: controlled strokes, clear feedback, and less dependence on “feel.” That matters when a few PSI can noticeably change ride firmness on a bike or steering stability on a motorcycle.
When a 160 PSI pump makes the biggest difference
- Road bike tires that typically run higher PSI than wide commuter or mountain tires.
- Topping off before rides to reduce pinch flats and improve rolling efficiency.
- Motorcycle tire checks where consistency matters for handling and wear.
- Garage use for routine maintenance rather than relying on unpredictable station gauges.
For motorcycles especially, consistent pressure is a safety baseline. NHTSA’s tire guidance highlights that proper inflation supports safe handling and reduces risk associated with underinflation (NHTSA — Tires). For bicycles, it’s about balancing comfort, grip, and speed—then reproducing that balance every time the tires are topped off.
Dual-valve compatibility at a glance
- Match the pump head to the valve type used on the wheel to prevent leaks while pumping.
- Confirm a secure seal before building pressure—small leaks become more noticeable at higher PSI.
- If resistance spikes early, re-seat the head and check that the valve core is snug.
Common valve types and practical fit checks
| Valve type | Where it’s commonly found | Quick fit check before pumping |
|---|---|---|
| Presta | Many road and performance bicycles | Unlock the small tip nut, press briefly to release a puff of air, then attach firmly |
| Schrader | Many mountain/commuter bikes and most motorcycles | Attach straight and fully; confirm the head doesn’t wobble before pumping |
| Dunlop/Woods (regional) | Some city bikes (varies by region) | Verify compatibility first; if using an adapter, keep it seated to avoid leaks |
If you’re swapping between bikes and a motorcycle, getting a confident, leak-free connection is the make-or-break moment. A secure seal also protects valve stems from side-loading; a crooked connection can bend a stem over time, especially on narrower bicycle rims.
Using the gauge for accurate, repeatable pressure
- Start by checking the recommended pressure range printed on the tire sidewall (bike) or the vehicle placard/manual (motorcycle).
- Pump in steady strokes and pause briefly to let the gauge stabilize, especially near the target PSI.
- Aim for consistency: inflate to the same PSI each time, then adjust based on ride feel, load, and conditions.
- Re-check after removing the pump head if a perfect number matters—some air loss can occur during disconnect.
For motorcycles, use the manufacturer’s recommended pressures as the primary reference. For bicycles, the tire sidewall range is a starting point—then fine-tune. If you want a practical framework for pressure basics, Michelin’s general tire pressure principles are a helpful reference (Michelin — Tire pressure guidance).
Step-by-step inflation (bike and motorcycle)
If you’re handling a flat repair on a bicycle, proper valve prep and seating also matter when re-installing the tube and tire bead. Park Tool’s repair guidance is a solid walkthrough for valve and inflation fundamentals during tire installs (Park Tool — Tire and Tube Removal and Installation).
Safety and best practices for tire pressure
Care, storage, and troubleshooting
For a garage setup that feels dialed-in, it helps to pair pressure consistency with contact-point upgrades. If you’re refreshing a bike that’s used for training or commuting, consider matching your maintenance tools with grip and control upgrades like Ultralight Non-Slip Aluminum Bike Pedals with Sealed Bearings and Gradient Anti-Slip Bike Handlebar Tape with EVA Comfort Grip.
FAQ
Will a dual-valve pump work with both Presta and Schrader valves without adapters?
Most dual-valve pump heads are designed to fit both Presta and Schrader directly, so switching between bicycles and motorcycles is usually straightforward. The key is fully seating the head and locking it in place to prevent leaks as pressure rises. Some regional or specialty valves may still require an adapter.
How much PSI should bike tires and motorcycle tires be inflated to?
For bicycles, use the pressure range printed on the tire sidewall as the baseline, then adjust within that range for comfort and traction. For motorcycles, follow the PSI listed on the bike’s placard or in the owner’s manual, especially when carrying a passenger or cargo. Always check pressures when tires are cool.
Why does pressure drop a little when removing the pump head?
A small amount of air can escape from the valve and hose as the connection disengages, which can show up as a slight PSI drop. Pull the head off straight and smoothly to minimize loss, and make sure the head is firmly attached before inflating. If you need an exact target, re-check and add a quick top-off after disconnecting.








Leave a comment