Vacuum Time Without Panic: Calm Dogs & Cats Fast
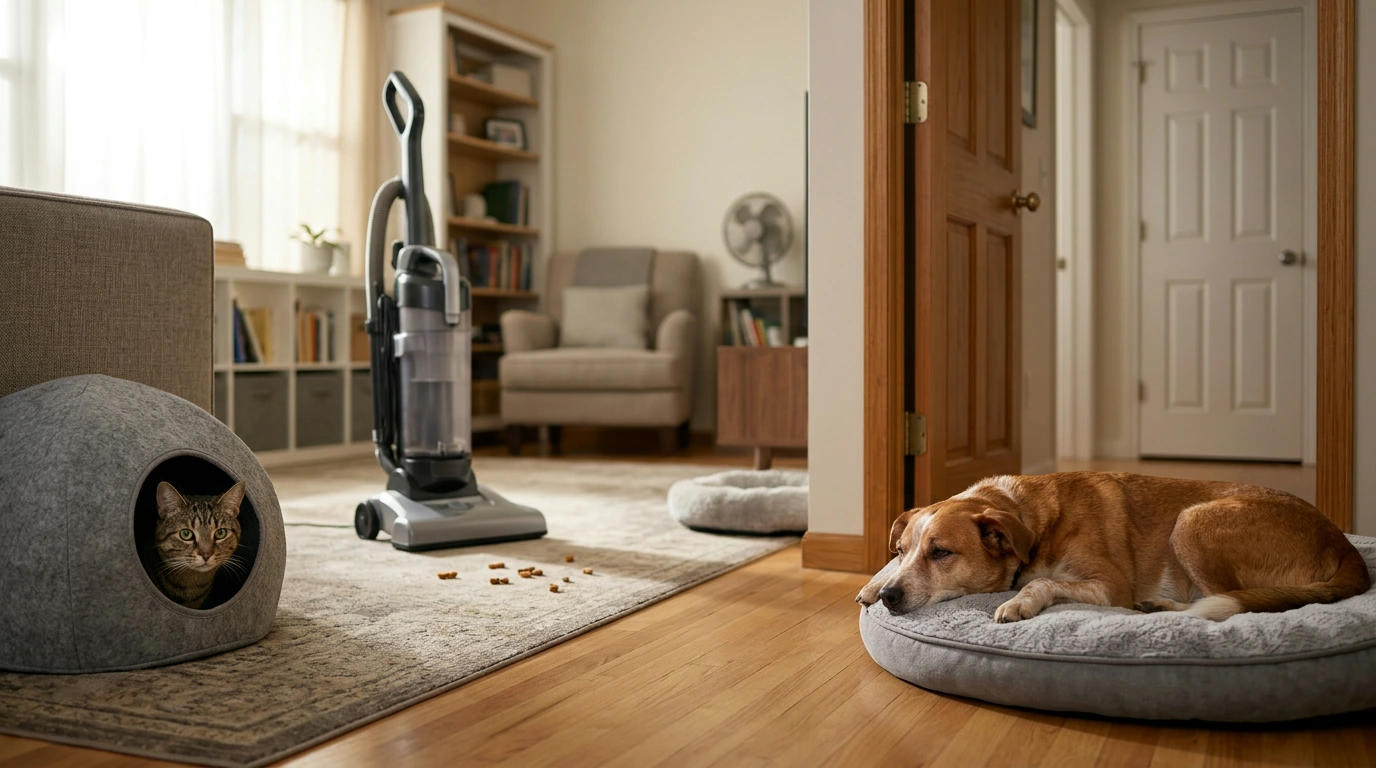
Helping Pets Stay Calm When the Vacuum Comes Out
Vacuum cleaners combine loud noise, sudden movement, and unfamiliar airflow—three common triggers for pet anxiety. With a few changes to the environment and a simple training plan, many dogs and cats can learn to tolerate (and sometimes ignore) vacuuming while staying safe and relaxed. For more guidance, see Fearful dogs | Cornell University College of Veterinary Medicine.
Why vacuums stress pets
From a pet’s perspective, a vacuum can feel like a fast-moving, unpredictable “thing” that shows up without warning. Common reasons it sparks fear or overexcitement include: For further reading, see Adopting an under-socialized dog – Humane Colorado.
- Noise sensitivity: high-volume, high-frequency sounds can feel unpredictable and threatening.
- Movement and size: a rolling, upright object that approaches can trigger chase or flee instincts.
- Smell and airflow: strong air movement and dust odors may be aversive, especially for cats.
- Past learning: a single scary experience (slipping, being bumped, trapped in a corner) can create lasting avoidance.
For more guidance on helping pets cope with noisy events, the American Veterinary Medical Association (AVMA) shares practical, safety-first strategies that also apply to vacuum time.
How to tell if your pet is coping or overwhelmed
Some pets look “fine” while quietly struggling; others escalate quickly into barking, chasing, or hiding. Use behavior—not guesses—to decide what to do next.
- Mild stress signs: lip licking, yawning, ears back, pausing play, leaving the room.
- Moderate stress signs: trembling, panting (when not hot), pacing, hiding, refusing treats.
- High stress signs: growling, snapping, frantic escape attempts, urination/defecation, dilated pupils, vocalizing.
- Rule of thumb: if your pet won’t take an easy treat or cannot respond to a simple cue, the setup is too intense.
Quick stress check during vacuum time
| What you see | What it usually means | What to do next |
|---|---|---|
| Looks at vacuum, then disengages | Curious but coping | Reward calm behavior and keep distance |
| Leaves the room or hides | Avoidance; vacuum is too close/loud | Pause vacuuming and create a quiet retreat space |
| Barks/lunges/chases | High arousal; may escalate to nipping | Secure pet behind a gate/door and start a gradual training plan |
| Freezes, trembles, won’t eat | Over threshold fear | Stop the session; resume later with lower intensity |
Set up the home to reduce stress fast
Management changes reduce fear right away and prevent your pet from practicing panic behaviors. Start with the environment before training steps.
- Create a refuge: a bedroom, crate, or covered cat hide with a comfortable bed and water; keep the vacuum out of that space.
- Use sound buffering: close doors, add a towel at the door gap, run a fan or white-noise machine to mask sharp peaks.
- Choose timing: vacuum after exercise/playtime when your pet is naturally calmer.
- Reduce triggers: start the vacuum far away, avoid sudden direction changes toward your pet, and keep the hose from swinging.
- Consider surface strategy: spot-clean with a broom or lint roller on tough days to avoid forcing a full session.
If your dog’s reactions are rooted in fear, the ASPCA’s overview on fear is a helpful reference for recognizing avoidance vs. true aggression and why punishment tends to backfire.
A gentle training plan (desensitization + positive association)
The goal is to teach: “Vacuum = good things happen, and I’m safe.” Work in short sessions (1–5 minutes), several times a week, and end while your pet is still comfortable.
Step 1 — Vacuum off
Place the vacuum in view at a distance; reward your pet for calm looks, soft body language, or choosing to lie down.
Step 2 — Movement without sound
Roll the vacuum a few inches, then stop. Feed a treat, toss a treat away from the vacuum, or cue a simple behavior your pet enjoys (like “touch” or “sit”).
Step 3 — Sound at low intensity
Turn the vacuum on briefly in another room, then off. Pair the sound with high-value treats or a favorite toy and stop before your pet ramps up.
Step 4 — Slowly close the distance
Increase duration and proximity in tiny steps over multiple sessions. If your pet startles, won’t eat, or fixates, you moved too fast—back up.
Step 5 — Add real-life patterns
Practice the typical vacuuming path while your pet stays behind a gate with enrichment. The more predictable the routine, the less startling it feels.
Progress rule: only increase difficulty when your pet stays relaxed and can eat treats; if not, back up one step.
During vacuuming: safety and management that prevent setbacks
When extra help makes sense
A ready-to-use calming option for vacuum days
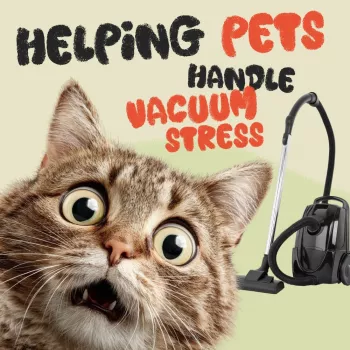
- Helping Pets Handle Vacuum Stress (in stock) — a focused option designed for noisy, high-arousal moments like vacuuming.
- Soft Leather Retro Tote Bag for Women (in stock) — a simple way to keep treats, a lick mat, and a small towel handy so vacuum training sessions stay consistent.
- Large-Capacity Multi-Function Diaper Backpack for Everyday Parenting (in stock) — useful for organizing enrichment toys and calming essentials in one grab-and-go spot for “vacuum days.”
FAQ
Should pets be in the room while vacuuming?
Often no at first; many pets do best in a separate safe room with enrichment. If training, keep plenty of distance and work below the fear threshold so your pet can stay relaxed and take treats.
How long does it take for a pet to get used to the vacuum?
It varies by personality and past experiences, so plan for multiple short sessions over days to weeks. Move forward only when your pet stays calm and is willing to eat treats or respond to an easy cue.
What if my dog tries to attack the vacuum?
Prioritize safety with gates or closed doors and stop letting the chasing/biting behavior rehearse. Start a gradual desensitization plan that rewards calm behavior, and get professional help if the behavior escalates or there’s a biting risk.







Leave a comment